Dummy Lab Controls Guide
Move, equip tools, and operate every major lab device on any input.
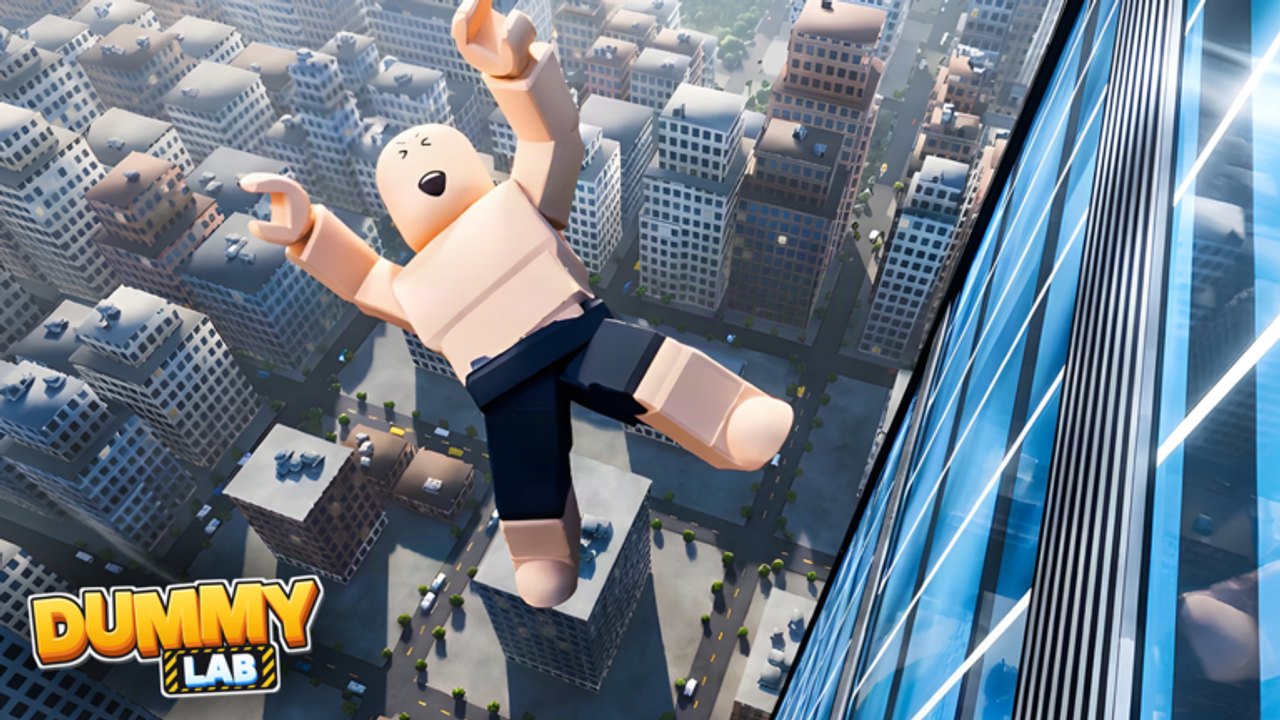
Dummy Lab is a physics sandbox first: you spend most of your time aiming launchers, arming drop towers, spinning centrifuges, and chasing ragdolls with the camera. Exact keybinds can vary by Roblox client, device layout, and any custom binds you set—so this guide focuses on what each control does and where to find it in the UI, not a single brittle key chart. Pair it with Getting Started for the day-one loop and the Guides Hub for the full map.
Movement and camera (all platforms)
Goal: Keep the dummy, the device, and the impact zone in frame without fighting the camera.
- Move with the left stick (controller), WASD / arrow keys (PC), or the on-screen thumbstick (mobile).
- Look / orbit with the right stick, mouse, or touch drag. Raise sensitivity in Settings if fast rocket sleds leave you behind.
- Jump / climb only when you need a better vantage for X-ray or to reach an elevated control panel—do not stand in the launch lane.
- Sprint (if available on your client) helps when resetting multi-gadget courses between tests.
In a six-player lobby, agree who “owns” the camera near spinning or rocket devices so people are not shoved into the path. See Players for co-op roles.
Tool equip, hotbar, and Shop menus
Dummy Lab’s toolkit grows as you rank up—eventually 70+ weapons and gadgets. Interaction pattern:
- Open your backpack / hotbar (PC usually uses number keys or the backpack button; mobile uses the inventory icon; controllers use the face-button inventory bind Roblox exposes).
- Equip the launcher, remote, or gadget you intend to fire. Unequip before walking into a centrifuge or wind tunnel intake.
- Open Shop from the HUD to browse purchases funded by Cash and Tokens. The Codes tab lives inside Shop—redeem strings there, never in chat. Day-one players should claim 10K (50k Cash + 1 Token) as described on Codes and Getting Started.
- Open Settings for sensitivity, graphics, and Send Feedback to Dummy Lab Community.
If a tool is greyed out, it is likely rank-locked. Progression details live in How to Rank Up; category explanations live in Weapons & Gadgets.
Interacting with lab devices
Most large machines are world objects with a proximity prompt or clickable console. Walk close until the prompt appears, then confirm with the interact key / on-screen button / controller interact. Stand on the operator pad when one exists—many devices refuse to arm if you are in the danger zone.
Cannons and impact launchers
- Approach the cannon console or hold the portable launcher tool.
- Use aim stick / mouse to set trajectory; small adjustments matter more than max power on early ranks.
- Confirm Load dummy (or place the dummy on the pad) before you fire.
- Fire once, then release the aim input so you can track the ragdoll and prepare X-ray.
Drop towers
- Escort or teleport the dummy onto the tower platform.
- Use the tower UI to set drop height or release delay if options appear.
- Clear the landing zone; then trigger Release / Drop from the safe console.
- Watch the fall, then move in for inspection—do not stand under the pad.
Wind tunnels
- Place the dummy at the tunnel mouth or on the internal sled if provided.
- Ramp airflow gradually if a slider exists; sudden max wind makes comparisons harder.
- Exit the tunnel before max flow if you are on foot—wind tunnels punish sightseeing.
Freezers
- Load the dummy into the freezer chamber or spray/apply the freeze gadget per tool prompts.
- Wait for the freeze state to finish before launching; half-frozen tests muddy X-ray reads.
- Combine with a later drop or cannon shot when you are ready to compare chilled vs warm break patterns (X-ray Feature).
Centrifuges
- Secure the dummy in the spin harness.
- Set spin duration / intensity from the centrifuge panel.
- Stand behind the guard line; trigger Spin, then Release only when the UI says the cycle is ready.
- Expect wide ragdoll arcs—give the room space in multiplayer.
Rocket sleds
- Buckle the dummy (and optionally ride, if the sled allows player seats) on the rail sled.
- Arm thrusters from the sled panel; confirm the track is clear.
- Launch, then chase with the camera along the rail. Reset the sled before the next timed run.
Category strategy and unlock expectations: Weapons & Gadgets. Strength opinions after unlocks: weapons tier list and gadgets tier list via the Tier List Hub.
PC-specific tips
- Prefer mouse aim for cannons and free-aim launchers; use keyboard strafing to stay on the operator pad.
- Bind inventory and interact to comfortable keys if Roblox settings allow—you will open Shop and Codes often.
- Use a slightly higher camera sensitivity for rocket sleds, then lower it again for precise freezer work.
- Alt-tabbing to read Codes or Updates is fine; just re-check that nobody fired a centrifuge into your AFK body.
Mobile-specific tips
- Enable the largest usable thumbstick and camera drag area so you can operate consoles without covering the prompt.
- Tap prompts deliberately; double-taps near spinning devices can accidentally jump you into the hazard.
- When typing code 10K, open Shop → Codes and use the Roblox text field—avoid chat autocomplete mistakes.
- After a launch, pinch-zoom out before opening X-ray so you can find the dummy quickly.
Controller-specific tips
- Learn which face button Roblox maps to Interact on your platform; every cannon, tower, and sled depends on it.
- Use the right stick for fine aim on launchers; nudge, do not whip.
- Open the Roblox escape / menu stack carefully so you do not unequip mid-arm on a rocket sled.
- In six-player chaos, vibrate / rumble (if on) can help you feel impacts while you keep eyes on the lane.
Safety habits that feel like “controls”
Good input hygiene prevents ruined tests:
- Unequip tools before entering centrifuges or wind tunnels.
- Confirm the lane is clear before every fire / drop / spin / rocket arm.
- One operator per device unless you are deliberately stress-testing multiplayer grief (and even then, warn the lobby—see Players).
- After each serious run, open X-ray before re-rolling the same gadget so you actually learn (X-ray Feature).
- If UI text looks wrong after a patch, check Updates and send notes via Settings → Send Feedback.
Practice drills (10 minutes)
- Cannon accuracy — five low-power shots at the same aim point; reset dummy each time.
- Tower repeatability — three identical drops; compare X-ray each time.
- Freeze then launch — freeze, then cannon; note control differences when the body is stiff.
- Sled camera chase — one rocket run focused only on keeping the sled in frame.
- Shop fluency — open Shop → Codes, confirm your Cash/Token counts, close without buying panic items.
When drills feel easy, push rank goals in How to Rank Up and explore more of the kit in Weapons & Gadgets. For scripts discussion, see Scripts. For a site overview, visit the Wiki.
Mastering Dummy Lab controls is less about memorizing one key and more about a reliable loop: approach prompt → arm device → clear lane → fire once → track → X-ray → reset. Nail that loop on PC, mobile, or controller, and every new unlock becomes usable the same day it drops.
Frequently Asked Questions
Quick answers to the most common Dummy Lab questions.
Why don’t you list exact Dummy Lab keybinds?
Roblox clients and devices differ. Learn each action by UI location—Shop, prompts, and device consoles—then check your platform’s interact bind.
How do I redeem codes while playing?
Open Shop from the HUD, select the Codes tab, and enter the string there. Start with 10K for 50k Cash plus 1 Token.
What should I do if I cannot operate a cannon or tower?
Stand on the operator pad until the proximity prompt appears, unequip conflicting tools, and confirm the device is unlocked for your rank.
Any mobile tip for rocket sleds?
Lower visual clutter, zoom out before launch, and keep one thumb free to drag the camera along the rail after you arm thrusters.