Dummy Lab Gadgets Tier List
Room-scale machines ranked for spectacle, sharing, and X-ray payoff.
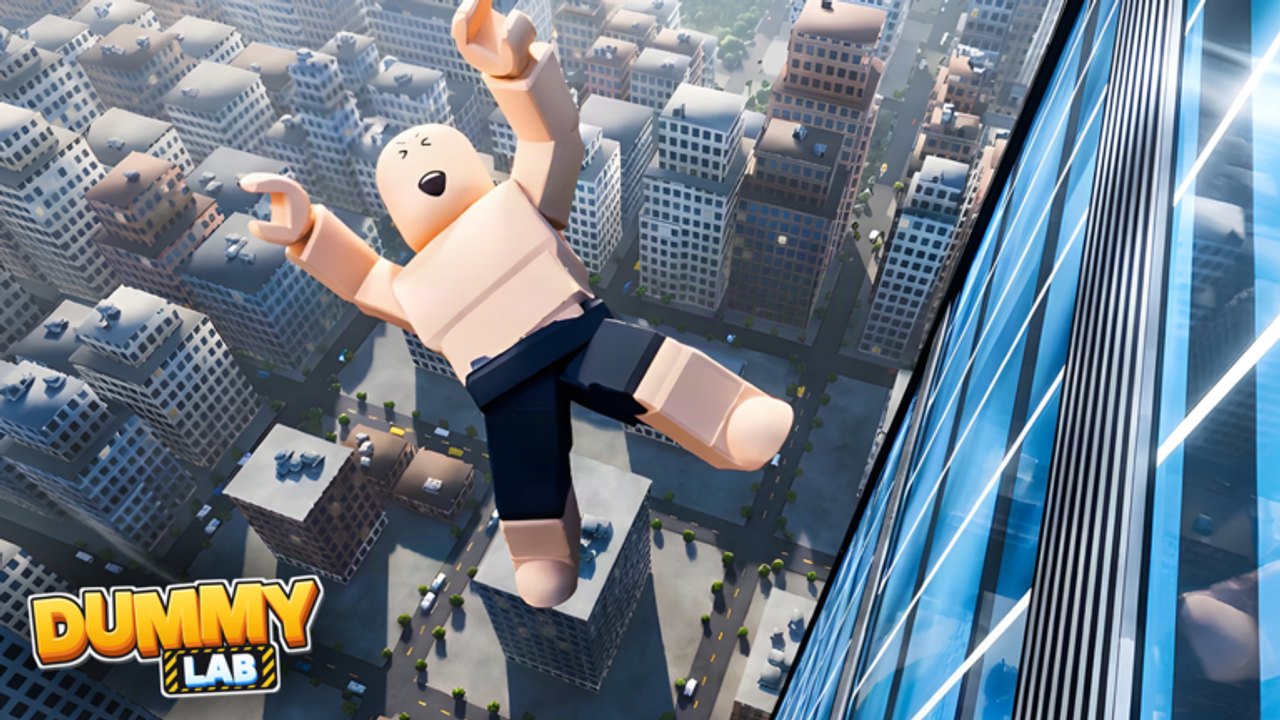
Gadgets are the environmental machines that turn Dummy Lab rooms into shows: drop towers, wind tunnels, freezers, centrifuges, rocket sleds, and similar fixtures. Aimed cannons and launchers live on the Weapons Tier List. Ranking rules sit on the Tier List Hub — fun, spectacle, unlock cost, versatility, and X-ray drama — with extra weight on how well six players can share the device.
If you are new, finish Getting Started, skim Codes for Cash and Tokens, then use this list to pick which lab rooms deserve your rank grind. Pair gadget runs with the Weapons and Gadgets guide, clean X-ray Feature reviews, and polite session habits from the Players Hub.
Quick ranking table
| Tier | Gadget archetypes | Why they land here |
|---|---|---|
| S | Rocket sleds, flagship drop towers, prime centrifuges | Instant spectacle, shareable clips, unforgettable X-ray frames |
| A | Wind tunnels, flexible freezers, mid drop setups | Reliable chaos that still plays nice in co-op |
| B | Niche room machines, slow setup gadgets, novelty spinners | Excellent for specialists; optional for everyone else |
| C | Redundant early fixtures, low-readout toys, blocked-path gimmicks | Fine for tutorials; weak Cash priority |
Names and unlock ranks move as Dummy Lab Community updates the experience. Rank by behavior: if a new machine flings bodies down a track like a rocket sled, evaluate it with the sled peer group.
S tier — lab headline acts
Rocket sleds headline the official feature list for a reason. Strap a dummy, fire the track, and you get directed speed plus a violent stop that X-ray loves. In multiplayer, assign one operator, one photographer on X-ray, and everyone else on crowd control so the lane stays clear. Few gadgets teach the “physics sandbox fantasy” faster.
Flagship drop towers convert height into pure impact storytelling. A clean release, a long fall, and a readable skeleton beat random ground spam every time. Towers also scale beautifully for content: one take, multiple camera angles, optional second dummy for comparison drops.
Prime centrifuges earn S when spin speed and release timing create distinct injury patterns instead of identical mush. The drama of winding up while friends count down is half the fun; the X-ray payoff is the other half. If a centrifuge only blurs the body beyond analysis, demote it mentally even if the particle effects look expensive.
Spend priority: unlock one S-tier gadget room that matches how you like to play (track speed vs vertical impact vs spin) before chasing every machine on the board.
A tier — everyday chaos engines
Wind tunnels shred trajectories and create mid-air comedy without always needing a full tower clearance. They combo brilliantly with A-tier weapons from the Weapons Tier List — launch into the tunnel, let airflow finish the joke, then X-ray. Tunnels also forgive aim mistakes, which helps newer players in public lobbies.
Flexible freezers change how bodies shatter and slide. A good freezer is A because it rewrites the same weapon hit into a new story, multiplying the value of tools you already own. Coordinate freeze timing so you do not lock a dummy mid-setup someone else was filming.
Mid drop setups (shorter towers, balcony drops, staged ledges) sit in A when they are faster to reset than the flagship tower. For six-player sessions that want many turns, reset speed matters as much as peak spectacle.
A-tier gadgets are the backbone of a friendly public server: high fun, moderate unlock pain, easy to share.
B tier — specialist machines
Niche room machines that only work after a late map or lab-room unlock belong in B for early progression value. Once you live in that room, treat them as personal S picks.
Slow setup gadgets that need lengthy alignment, multiple switches, or exclusive control of a whole wing fall to B in busy lobbies. They can still be incredible in a private three-friend session where nobody griefs the prep work.
Novelty spinners and one-note toys entertain for a night, then gather dust. Unlock them with leftover Cash after your S and A targets, or when you specifically need a new thumbnail for clips.
C tier — low priority fixtures
Redundant early fixtures that clone an A-tier effect with worse readout or longer cooldowns are C. Do not let completionism empty your Token balance.
Low-readout toys that move dummies without leaving a satisfying X-ray story fail the fifth ranking pillar. Sandbox joy in Dummy Lab is incomplete without inspection.
Blocked-path gimmicks that constantly jam doorways or firing lanes in public servers also land in C for co-op value, even if they look clever solo. Hosts should disable or avoid those bits when the lab is full.
Sharing gadgets without griefing
Gadgets cause more conflict than weapons because many are single-seat machines. Rules of thumb:
- Call “next on sled/tower” in chat or voice.
- Finish one full cycle — launch, impact, X-ray — before yielding.
- Never reset mid-spin or mid-drop when someone else queued the run.
- Keep weapons fire clear of the active track or shaft.
- Invite regular groups to a private server when you want long experimental chains.
Deeper etiquette, private vs public advice, and friend-invite tips live on the Players Hub.
Combo ideas worth practicing
- Sled into freezer — freeze after the stop for brittle X-ray contrast.
- Tower into wind tunnel — sideways drift after a vertical fall looks absurd on camera.
- Centrifuge into cannon finish — spin, release, then a single A-tier cannon tap for a readable final frame.
- Dual-dummy comparison — same gadget, two consecutive runs, screenshot both X-rays for the lobby.
Practice combos privately first. Public labs with ~peak concurrent energy can turn a careful experiment into accidental sabotage if two operators fight the same button.
Progression tips for gadget hunters
Rank unlocks weapons, maps, and lab rooms — gadgets often hide behind room access more than raw shop price. If your favorite machine is gated, push rank with whatever fun A-tier weapon keeps you playing, redeem Codes for Cash and Tokens, and track patch notes on Updates. Official links and the Dummy Lab Community group sit on the Links Hub.
Remember the fantasy: Dummy Lab is the realistic ragdoll sandbox where you blast dummies, then inspect the skeleton. Gadgets that serve that loop climb; gadgets that only add UI clutter do not.
Related pages
- Tier List Hub — S–A–B–C methodology
- Weapons Tier List — cannons, launchers, impact tools
- X-ray Feature — inspection workflow after every blast
- Weapons and Gadgets guide — catalog of the 70+ tools
- Players Hub — sharing devices in six-player labs
- Codes — Cash and Token redemptions
Frequently Asked Questions
Quick answers to the most common Dummy Lab questions.
Which gadget should I unlock first?
Pick one S or A archetype you enjoy — sled speed, tower drops, or tunnel chaos — and unlock that room before spreading Cash across every novelty machine.
Why do gadgets weigh multiplayer sharing so heavily?
Many gadgets are single-operator. A spectacular machine that causes constant fights drops in co-op value even if solo clips look perfect.
Do freezers always beat wind tunnels?
No. Freezers rewrite shatter stories; tunnels rewrite flight paths. Both are A-tier staples with different combo partners.
Can gadgets outrank weapons for fun?
Yes. Room-scale machines often create the biggest lobby reactions. Use both lists together instead of treating weapons as the only meta.
Where do I send gadget bug reports?
Use in-game Settings → feedback, and keep the official Roblox page plus Dummy Lab Community links from the Links Hub handy.