Dummy Lab Weapons Tier List
Cannons, launchers, and impact tools ranked for sandbox spectacle.
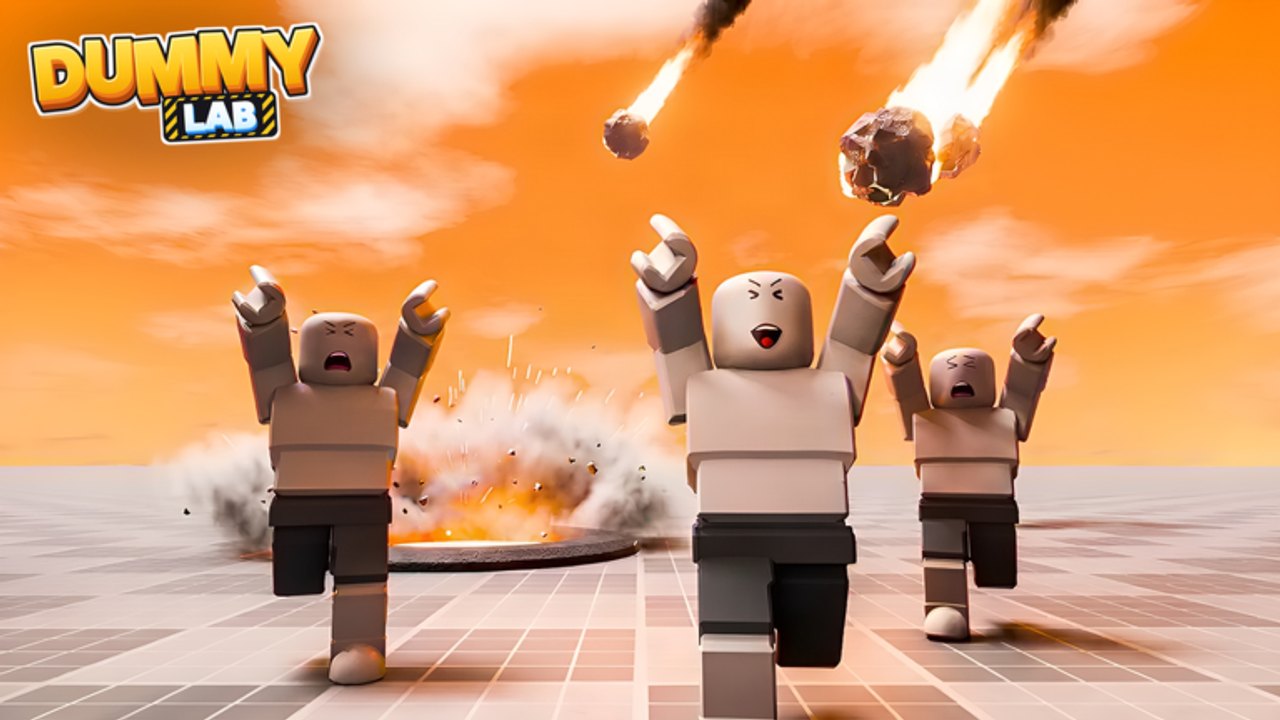
This page ranks weapon-style tools in Dummy Lab — the cannons, launchers, impact blasters, and other aimed toys you point at crash-test dummies. Environmental machines live on the sibling Gadgets Tier List. Methodology lives on the Tier List Hub: fun factor, spectacle, unlock cost or rank gate, versatility, and X-ray drama.
Dummy Lab ships 70+ weapons and gadgets behind rank progression, Cash, and Tokens. Use this list to decide what to rush after you finish Getting Started and claim any live Codes. For catalog-style unlock advice, open the Weapons and Gadgets guide; then practice clean hits before you crowd a public six-player lab (see the Players Hub).
Quick ranking table
| Tier | Weapon-style picks | Why they land here |
|---|---|---|
| S | Heavy cannons, rocket-assisted launchers, staged multi-hit impact kits | Lobby-stopping arcs, crystal-clear X-ray stories, worth the rank grind |
| A | Mid cannons, reliable launchers, flexible impact tools | Strong everyday fun without extreme unlock pain |
| B | Specialty launchers, joke impact toys, map-locked blasters | Great bits in the right room; skip if Cash is tight |
| C | Starter peashooters, weak single taps, redundant early unlocks | Learn aim here, then stop spending on duplicates |
Exact in-game names and prices shift as Dummy Lab Community patches the experience. Treat rows as archetypes: if a new cannon behaves like a heavy S-tier launcher, rank it with that peer group until we rewrite the table.
S tier — signature weapons
Heavy cannons sit at the top because they sell the fantasy on the Roblox page: launch, drop, and blast a dummy, then open X-ray to see exactly what happened. A well-lined cannon shot produces long flight paths, wall caroms, and injury maps friends can read from across the lab. Spectacle and X-ray drama both spike.
Rocket-assisted launchers earn S when thrust stays readable. Directed propulsion lets you aim for towers, sled tracks, or open hangars instead of random mush. In co-op, one player aims while another stages the dummy — classic six-player choreography without griefing the experiment.
Staged multi-hit impact kits (tools that encourage a setup hit, then a follow-up blast) climb to S when the second hit still leaves an interpretable skeleton. Pure chaos that deletes the body into noise drops to A or B even if it looks flashy once.
Unlock advice: push rank and Cash toward one S-tier cannon or launcher before vacuuming every shop row. Codes such as 10K (large Cash plus a Token when active) should fund that spike, not a pile of C-tier duplicates.
A tier — everyday lab staples
Mid-power cannons are the workhorses. They unlock earlier than the heaviest guns, still throw dummies across rooms, and leave clean X-ray frames. If you host friends often, keep an A-tier cannon hotbar-ready so newcomers can participate without waiting on your late unlocks.
Reliable launchers with moderate recoil and predictable arcs score A for versatility. They work solo for practice and in public servers where you cannot always clear a full firing lane. Pair them with etiquette from the Players Hub — call your shot, wait for X-ray, then hand the tool off.
Flexible impact tools (bats, blunt launchers, short-range blasts that still read on X-ray) fill A when they combo with gadgets. An impact pop into a wind tunnel or onto a rocket sled often looks better than an isolated S-tier shot with no follow-through. Cross-check gadget partners on the Gadgets Tier List.
A-tier is where most progression Cash should land after your first S unlock. You get breadth without starving Tokens needed for maps or lab rooms.
B tier — situational stars
Specialty launchers tied to a single lab room or gag angle belong in B. Inside their room they can feel S; elsewhere they waste hotbar space. Unlock them when you main that room, not on day one.
Joke impact toys — tools that exist mostly for memes, tiny taps, or silly sound design — stay B unless a patch gives them real knockback. They are perfect for warm-up rounds and content clips, weaker for “show my friend why this game is cool” demos.
Map-locked blasters that only shine after a late map unlock also sit in B for early-game value. Once you own the map, revisit and promote them mentally; the published tier still warns new players not to tunnel-vision the shop.
C tier — learn, then leave
Starter peashooters teach camera aim, dummy placement, and the X-ray button. Keep them for onboarding, then stop sinking Cash into near-duplicates. Progression in Dummy Lab rewards rank and smarter spends more than owning every weak variant.
Weak single-tap tools that barely register on X-ray fall here even if they are free. Sandbox fun needs readable outcomes; if the skeleton looks unchanged, the bit fails.
Redundant early unlocks that clone an A-tier arc with worse spectacle are C by efficiency. Read shop text carefully, compare to what you already own, and skim Updates before buying on patch day hype alone.
How to spend Cash and Tokens on weapons
- Redeem active Codes the moment you join.
- Unlock one clear A-tier cannon or launcher for daily play.
- Save toward a single S-tier centerpiece that matches your favorite room.
- Only then dabble in B-tier specialties for content or friend gags.
- Ignore C-tier duplicates unless you are collecting for completion screenshots.
Tokens are rarer than Cash for many players — spend them on progression gates that unlock rooms where your S-tier weapon actually has space to breathe, not on cosmetic detours that never appear on X-ray.
Co-op weapon etiquette (short version)
Public labs max out at six players. Do not dump continuous fire into a dummy someone else lined up for X-ray. Announce big cannon shots, share the fun weapon after your clip, and leave room for gadget operators. Full etiquette lives on the Players Hub; weapon choice still affects how polite a session feels.
Practice route for new unlocks
Private server → place one dummy → fire three controlled shots → X-ray each result → adjust angle → only then invite friends. That five-minute loop separates “random chaos” from “repeatable highlight.” The Weapons and Gadgets guide expands on categories and unlock thinking; this tier list only tells you which tools deserve that practice time.
Related pages
- Tier List Hub — full ranking methodology
- Gadgets Tier List — towers, tunnels, sleds, freezers, centrifuges
- Weapons and Gadgets guide — catalog overview of the 70+ tools
- Players Hub — sharing tools without griefing
- Codes — Cash and Token boosts
- Links Hub — official game and community links
Frequently Asked Questions
Quick answers to the most common Dummy Lab questions.
What counts as a weapon vs a gadget?
Weapons are aimed or handheld blast tools like cannons and launchers. Gadgets are room-scale machines such as drop towers, wind tunnels, freezers, centrifuges, and rocket sleds — ranked on the Gadgets Tier List.
Should I buy every cannon that appears in the shop?
No. Grab one strong A-tier option, save for a single S-tier centerpiece, then ignore C-tier duplicates unless you are collecting.
Do codes change weapon tiers?
Codes change how fast you afford unlocks, not the fun ranking. A Cash windfall should still follow the spend order above.
Why is my favorite joke weapon only B tier?
B means situational excellence. If it shines in one room or gag, keep using it — just do not spend early Cash there before you own a flexible A-tier staple.
Will this list update after new weapons drop?
Yes. New tools get slotted by archetype first (heavy cannon, mid launcher, and so on), then we refine after community sessions and patch notes on the Updates Hub.