Dummy Lab Rooms and Maps
Unlock lab rooms and maps by rank, then match gadgets to each space.
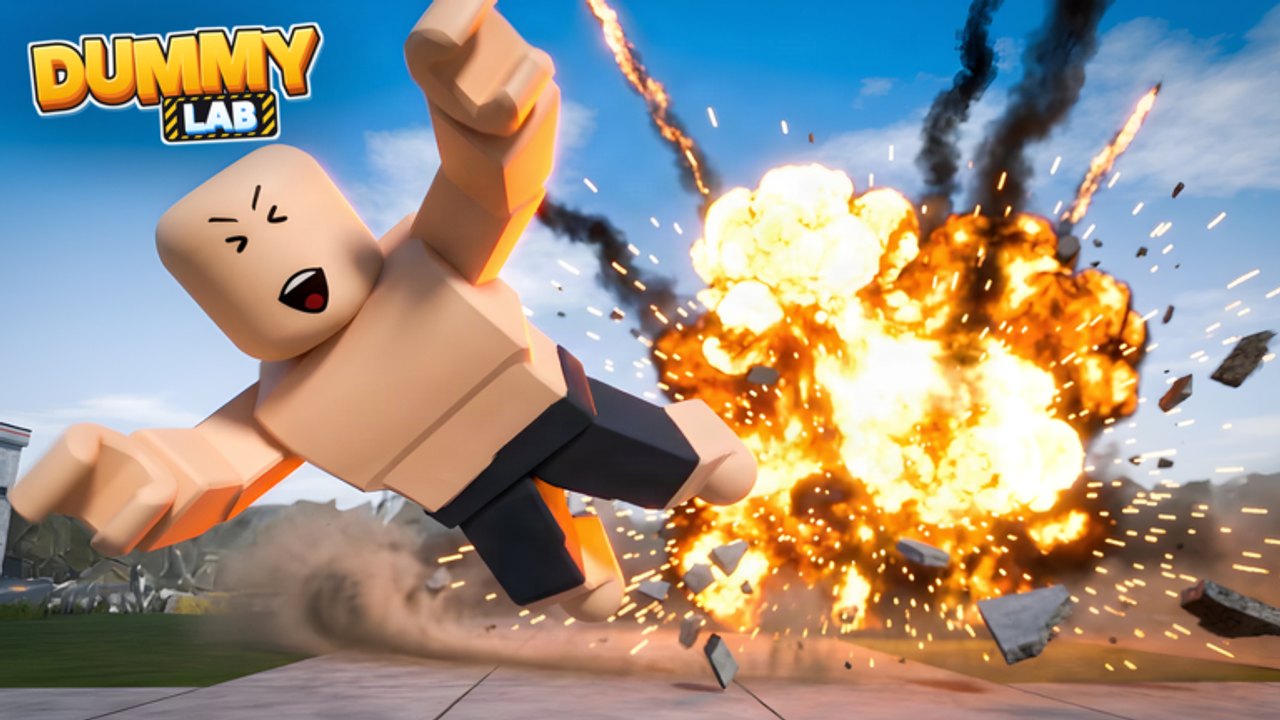
Dummy Lab on Roblox is more than a single crash pad. As you rank up, the Dummy Lab Community experience unlocks new weapons, maps, and lab rooms—spaces built around cannons, drop towers, wind tunnels, freezers, centrifuges, rocket sleds, and other gadgets from the 70+ toolkit. This guide explains why rooms matter, how to unlock and explore them, which test styles fit each space type, and how to run clean sessions alone or with up to six friends.
Pair this page with How to Rank Up for the grind loop, Weapons & Gadgets for tool families, Cash & Tokens for Shop spending, and X-ray Feature so every room visit produces readable data. New players should finish Getting Started first.
Why lab rooms and maps matter
A room is a curated physics stage. The same cannon feels different under a low ceiling, beside a fan bank, or at the top of a drop shaft. Maps change sightlines, spectator angles, and how far a dummy can travel before the world resets your attention. Ranking into a new room is not just a badge—it is permission to run experiments you could not stage in the starter lab.
Treat unlocks as research capacity:
- Starter lab — learn baselines: short launches, simple drops, first X-ray reads.
- Height / drop rooms — gravity-only comparisons and tower protocols.
- Airflow rooms — wind tunnels and fan lanes that bend trajectories mid-flight.
- Thermal / freeze rooms — freezers and chill pads that change impact behavior.
- Spin rooms — centrifuges and high-G releases before a launch.
- Speed tracks — rocket sleds and long straightaways for velocity tests.
- Later maps — larger layouts that mix several of the above in one visit.
Exact room names can shift after patches. When Dummy Lab Community ships a new space, check Updates the same day and re-walk the unlocked list in-game.
How unlocks work
Progression is rank-gated. You earn rank by playing actively in the lab—operating devices, completing crash tests, and staying engaged rather than AFK. Cash and Tokens from play and codes (including active 10K for 50,000 Cash + 1 Token) help you buy gadgets that make those sessions more varied, which in turn makes ranking feel faster. Redeem steps live on Codes.
Practical unlock habits:
- Note your current rank and the next locked room or map label in the UI.
- Spend Cash on one tool that the next room clearly needs (for example a freezer before a chill room showcase).
- Hold scarce Tokens until Cash & Tokens and your X-ray notes agree the purchase is a breakthrough.
- Enter the new room the moment it unlocks—do not stockpile unlocks without using them.
- Run three controlled tests in the new space before inviting full six-player chaos (Players).
If a door, pad, or console stays locked after a patch, soft-rejoin for the latest place version, then use Settings → Send Feedback with the room name and your rank.
Matching gadgets to room types
Use this heuristic when you walk into an unfamiliar space. Cross-check strength opinions later on the Tier List Hub, weapons tier list, and gadgets tier list.
| Room type | Best first tests | Gadgets to bring | X-ray focus |
|---|---|---|---|
| Starter lab | Mid-power cannon, short drop | Basic launcher + one crowd toy | Limb vs torso impact |
| Drop / tower | Same height, two dummies | Drop tower, low-power push | Fall damage patterns |
| Wind / tunnel | Straight shot vs fan-on shot | Wind tunnel, light launcher | Mid-air path changes |
| Freezer / chill | Warm vs frozen impact | Freezer + any impact tool | Break pattern shifts |
| Centrifuge / spin | Spin then release into a clear lane | Centrifuge, soft landing pad if available | Spin-induced stress |
| Sled / speed | Solo sled, then timed duo runs | Rocket sled, camera-friendly lane | High-speed impact zones |
Operate devices with the patterns in Controls. Never assume a mobile layout matches PC button placement—find the on-screen prompts in each room.
Room session protocol (solo)
- Clear the lane — remove leftover dummies and props from the last visitor if the room allows resets.
- Baseline — one medium test with your most familiar launcher so your eye recalibrates to the new geometry.
- Single-variable block — change only height, fan power, freeze state, or spin time across three runs.
- X-ray after each serious run — screenshot or note two damage facts before the next fire (X-ray Feature).
- Unlock check — confirm whether this room’s activity nudged rank or Shop options.
- Exit clean — leave machines idle-ready for the next player if you are in a public lobby.
Co-op room etiquette (2–6 players)
Shared rooms break down when everyone fires at once. Use the same queue culture as the Players Hub:
- Call “on tower,” “on sled,” or “on centrifuge” before you take a single-seat device.
- Finish launch → impact → X-ray → clear before handing off.
- Assign roles: operator, inspector, spotter.
- Teach newcomers the room’s hazard edges (shafts, fan intakes, sled terminals) before max-power demos.
- After a new map unlocks for one friend, let them operate first—rank gates are personal progression moments.
Public lobbies are great for discovering rooms; private sessions are better for long comparison chains and content recording.
Planning a room tour after a patch
When the experience title shows [UPD] or the place updates (Dummy Lab refreshed as recently as 19 November 2026), walk this checklist:
- Read Updates and redeem any celebration codes on Codes.
- Rejoin so you are on the latest build.
- Open your unlocked rooms list and note anything new or renamed.
- Retest one familiar room—numbers on fans, freezers, or sleds sometimes change quietly.
- Update your personal tier instincts against the tier lists after a day of community testing.
- Send Feedback for broken doors, invisible collisions, or X-ray glitches with room names attached.
Common mistakes in new rooms
- Skipping the baseline — you cannot judge a new centrifuge if you never fired a normal cannon in that geometry.
- Max power first — unreadable chaos teaches nothing about the room’s unique props.
- Ignoring unlock order — buying random Shop toys instead of the tool the next room needs wastes Cash (Cash & Tokens).
- Griefing mid-test — blasting someone else’s lined-up drop ruins the science fantasy for everyone.
- Never revisiting old rooms — starter spaces remain the best classroom for teaching friends after Getting Started.
Related reading
- Guides Hub — full how-to map
- How to Rank Up — unlocking rooms and maps
- Cash & Tokens — funding the right gadgets
- Weapons & Gadgets — tool families
- Controls — operating devices per platform
- X-ray Feature — inspecting results
- Players — six-player room etiquette
- Updates · Codes · Wiki
Dummy Lab’s long-term fun is the growing campus of rooms and maps. Rank with intention, match gadgets to each space, measure with X-ray, and the sandbox stops feeling random—it starts feeling like a real crash campus you earned door by door.
Frequently Asked Questions
Quick answers to the most common Dummy Lab questions.
How do I unlock new Dummy Lab rooms and maps?
Rank up through active play. Higher ranks unlock additional weapons, maps, and lab rooms. Codes like 10K fund gadgets that keep sessions varied while you climb.
What kinds of lab rooms exist?
Expect spaces built around drop towers, wind tunnels, freezers, centrifuges, rocket sleds, and mixed maps. Exact names can change after updates—check the in-game unlock list.
Should I bring different gadgets to each room?
Yes. Match tool families to the room: towers for height tests, freezers for chill comparisons, sleds for speed tracks. See Weapons & Gadgets and the tier lists for details.
How do friends share a newly unlocked room?
Queue single-seat devices, finish X-ray before handing off, and let the player who just unlocked the room operate first. Full etiquette is on the Players hub.
What if a room stays locked after an update?
Rejoin for the latest build, confirm your rank, then use Settings → Send Feedback with the room name. Also skim the Updates hub for patch notes.